Safe-to-Wake Light, Part 2: Setting up Hardware
January 06, 2020
Thank you, everybody, for your concern. Squishy Kitty is doing well and is looking forward to his new lease on life.
When we left off last time, we had a plan and a parts list.
But I have a confession to make: That parts list was an incomplete parts list.
You see, I discovered after I had already purchased the parts that this project was going to involve soldering. I thought I was going to be more of a “plug me into the GPIO pins” kind of project.
And, to be fair, it became a “plug me into the GPIO” pins kind of project… after soldering a 40-pin male header to the Pi Zero, and then a 40-pin female header to the Pimoroni Unicorn pHAT, after which you can secure the Pi Zero into the case, after which you can cap the case, and THEN you can just plug in the Unicorn.
You know, just solder 80 joints before you get to that point.
Soldering
Right, so soldering happened.
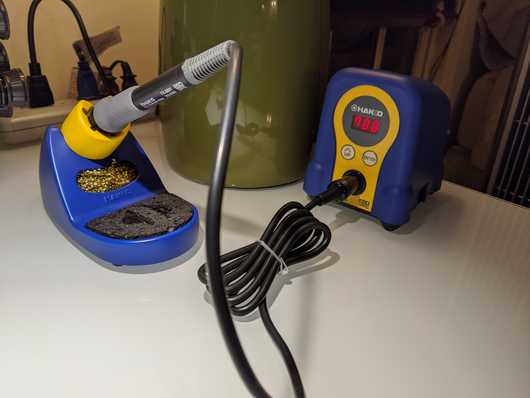
My soldering iron is a Hakko FX-888 and I am a HUGE fan. The ceramic stand is very secure and has a built-in tip cleaner and cleaning sponge. You can also specify the temperature you want the tip to be, and it heats up VERY quickly.
Soldering is awfully straightforward:
- Turn on the soldering iron
- Wait for it to heat up
- Hold the iron in your right hand, solder in your left
- Place the tip of the iron on the pin to be soldered for a second or two so it heats up
- Feed the solder onto the hot pin
- Soldering has happened
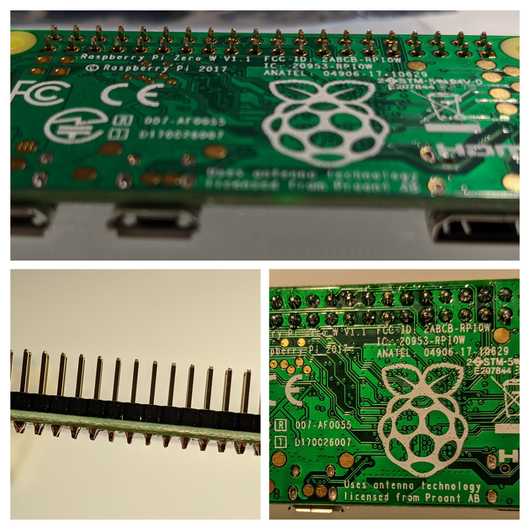
First, I soldered the 40-pin male header to the Pi:
Then, I soldered the 40-pin female header to the Pimoroni:
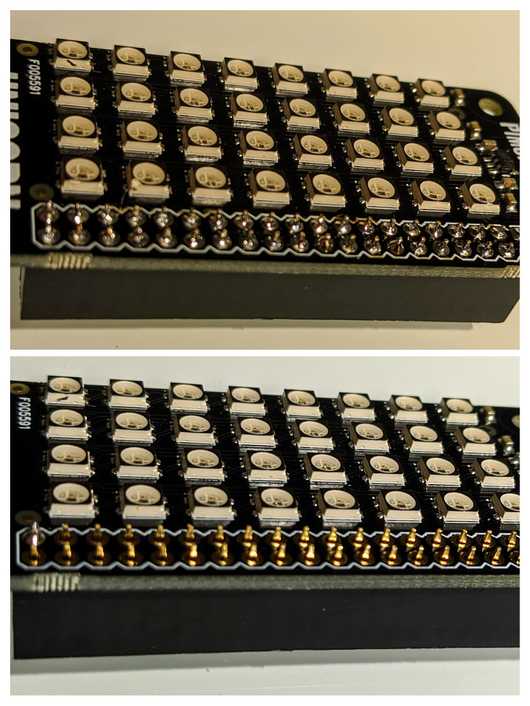
In the bottom image, you can see the corner pins are soldered first to secure the pins in place before doing the others. The top half shows the completed soldering job on the Pimoroni.
Despite my nonchalance, soldering is the perfect opportunity to destroy electronic equipment. Or your body, for that matter: toxic fumes, 700° implements designed to melt metal… it’s a disaster waiting to happen.
So while we’re calming down from the stress of nearly poisoning and mutilating ourselves, let’s download the OS to our microSD card so we can test to see if we still have a working Pi.
Downloading Stuff
To get the OS installed, I downloaded the following to my personal computer:
- Raspbian Buster Lite - the OS for our Raspberry Pi Zero
- Etcher - the tool for flashing the new OS to the MircoSD card
Flashing a drive is something I need to do once every other year or so: just infrequently enough that I end up needing to find a new tool to do it every time.
It’s pretty neat to watch the state of the art improve as programming, tech, and maker culture becomes more user-friendly.
Etcher is far and away the nicest flashing tool I’ve used; we’ve come a long way since the days of dd-ing images by hand to /dev/whatever.
Anyway, the process was:
- Download Raspbian
- Download Etcher
- Install Etcher
- Run Etcher
- Pick Raspbian image from downloads folder
-
Plug in MicroSD card
- Etcher detects SD card, lights up go button
- Press go button.
A couple minutes later and we had an SD card with Raspbian on it. And that was it!
Plugging and Praying
I’ve had mostly good luck with soldering, starting all the way back in 2004 with my first major project (involving an Xbox). I don’t do it very often, but soldering is enough fun that after every every successful job I can picture myself making a hobby out of it.
It is time for the moment of truth: was the soldering successful??
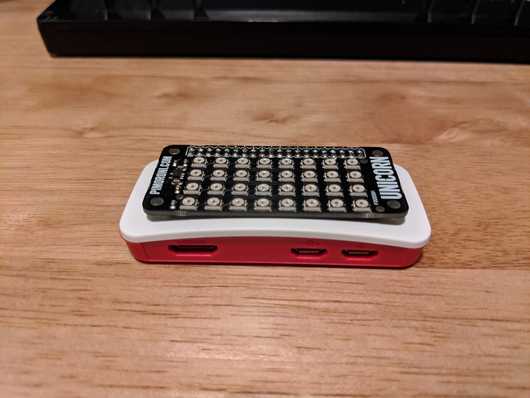
Let’s throw the SD Card into the Pi, and the Pi into the case:
…and then… hook it up?
Oh yes, I did mention an incomplete parts list earlier, didn’t I?
I avoided needed to purchase these because I hoard cables and electronic parts, but in order to get up and running, you’re also going to need:
-
A USB OTG (on-the-go) cable, which is a Micro-usb male to USB-A female
- You’ll use this to connect your Raspberry Pi Zero to a keyboard (or USB hub) for performing initial setup
-
A mini-HDMI cable
- So you can hook your pi zero up to a monitor for initial configuration
-
A power supply for your Pi Zero
- 1A should be sufficient as long as you’re not using power-hungry peripherals. 2.1 amps if you are.
- If you’re using an old phone charger as the power supply, check to make sure it puts out enough juice.
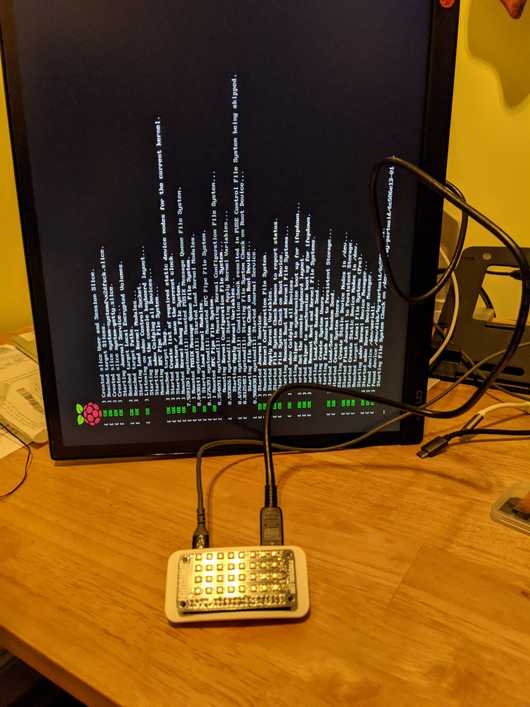
Once everything is plugged in:
The Pi boots up! We didn’t destroy our electronics! …probably.
We still haven’t yet proven whether or not all the soldering was completed correctly.
Next Time
In the next post, if everything goes according to plan, we’re going to:
- Get the Pi on the Wifi so that we can ping it on the fly
- Download the Pimoroni Python tools and assert that the pHAT was installed correctly (make the pretty lights light up)
- Assert we can run Clojure applications (probably compiled JAR files) on the Pi
This may merit its own post, and it may also be unnecessary, but if the Pimoroni libraries are only available in Python, and if we want to manipulate them in Clojure, we may need to use some GraalVM magic to invoke Python functions from Clojure.
Stay tuned!
